Process DPF Images
Introduction
Twice each year in the summer and fall, vegetated areas on Owens Lake are assessed at several hundred survey sites. At each site, six high-resolution photographs are taken with a DSLR camera mounted on a pole. Images are automatically downloaded to a link field tables. The images must be offloaded and organized by Site ID to enable downstream analysis. The steps to collect and organize the Managed Vegetation DPF images are outlined in the flowchart below. Each group of steps is described in the subsequent subsections.
Data Preparation
Prior to the field survey taking place, the survey team lead pre-determines survey locations and shares a shapefile with the ArcGIS Online (AGOL) administrator. The AGOL admin loads the locations as a collection target layer in the Managed Veg DPF Collection map available in the Field Maps app.
It is also important to clear the Amazon Web Services S3 of any images from previous surveys.
DPF Collection on the iPad Field Tablets
The procedure for collecting survey images at each DPF survey site is not covered in this how-to guide.
Once the survey images have been taken with the DSLR camera and downloaded to the iPad, they are handled in two ways:
- In Field Maps, tap on (or search for) the correct survey location, and tap on Collect. This takes you to Survey123. Fill out the form fields, and attach all photos for the site to the survey. Sync the survey immediately or save in the Outbox to send later.
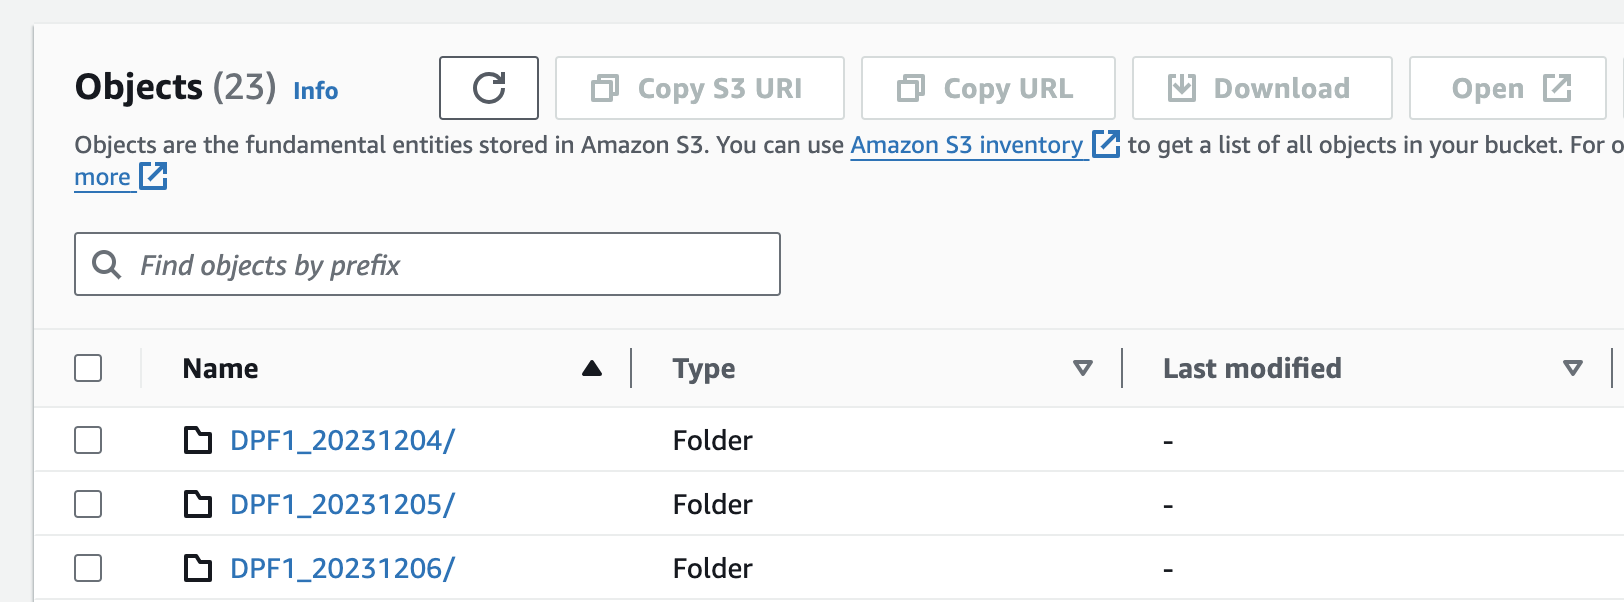
- In a web browser, log in to the Amazon Web Services S3 Console using the credentials provided by the survey team lead. Tap on the bucket named mv-dpf-dump. If it does not already exist, create a folder for the current date the the name of iPad (found in Settings->General->About). Upload the images to the folder. An example of the folder structure is below.
Automated OLIVE Server Processing
At this point, thumbnail-sized images for each survey have been uploaded to ArcGIS Online via the Survey123 forms along with their their corresponding Site IDs. The full-sized images have been uploaded to an Amazon Web Services S3 Bucket. To prepare the full-sized images for analysis, they must be linked to their Site IDs. This is done with a matching script that can be triggered from the OLIVE Reports page. Select the appropriate report type and date range and click Generate Report; this will queue the matching script to run.
The Matching script takes over an hour to run for a full set of DPF sites (~500 sites). Please be patient! You can check progess by looking for the report entry in the table at the bottom of the page. A status of "Enqueued" means the report is still in progress.
Matching Routine
The matching routine is outlined below. The script uses multiple datetime fields in the Exif data as well as the camera type to match and sort images approriateely. Image thumbnails for which there is no corresponding full-size image are added to a "missing" folder to assist with troubleshooting and tracking down photos.
Before you run the matching script, it is a good idea to delete images from the S3 bucket that are from previous surveys. The routine reads all files in the S3 bucket as matching candidates, so extra data adds a significant amount of processing overhead.
Final Package
When the report script has finished successfully, the ZIP package will be available for download from the OLIVE Reports page. Because the package is large (>1 GB), it will not be emailed to the user directly.